
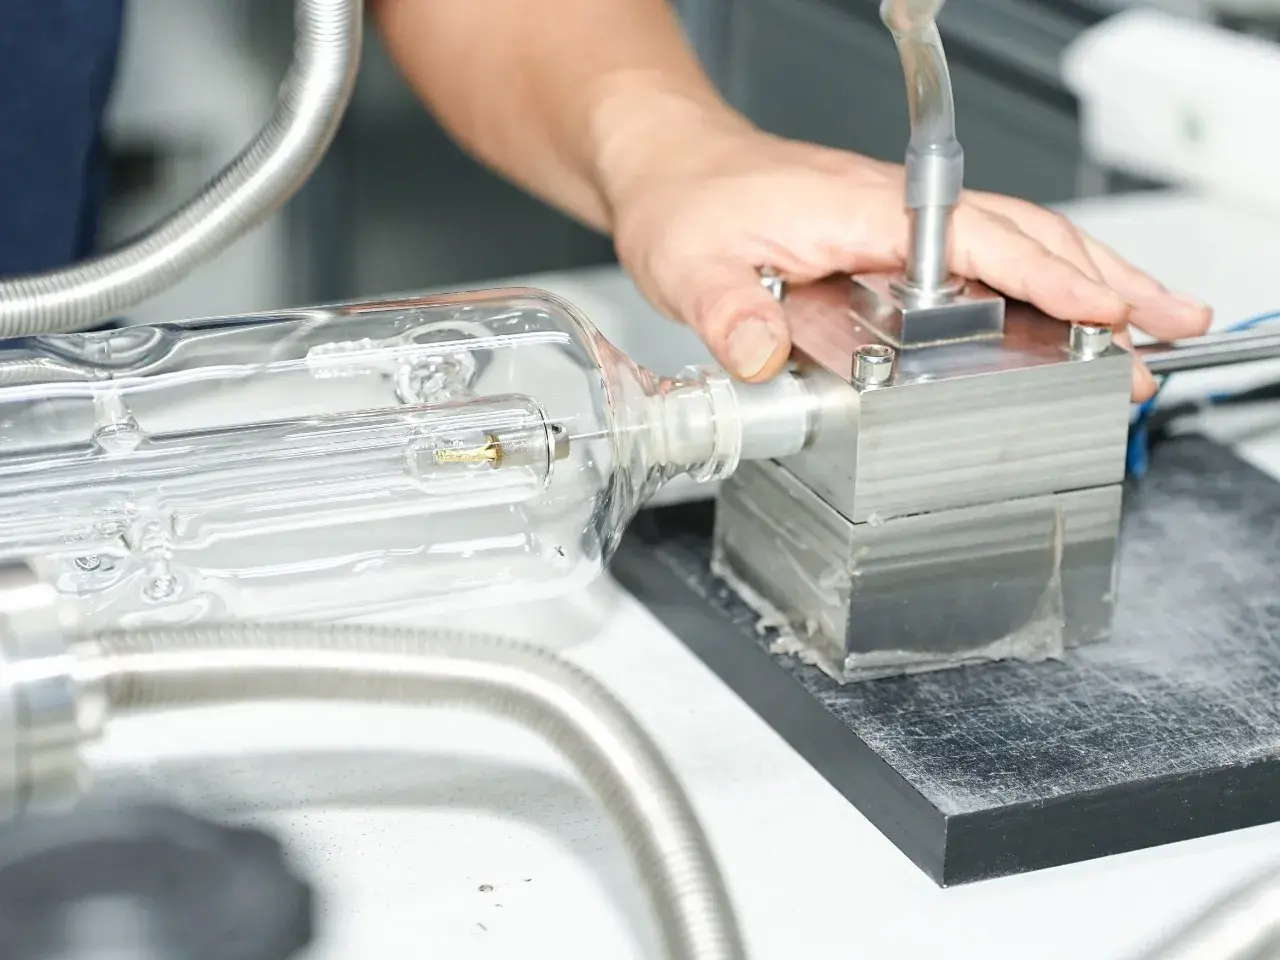
A CO2 laser tube is the heart of your system — and the component most often blamed for lost production. Replacing and calibrating it correctly takes more than unclipping the old tube and wiring in a new one. Done wrong, it costs you beam quality, tube life, and operator safety.
At eCO2laser(Hengkuai Laser), we live by the doctrine: “Life First, Safe Development. Safety First, Prevention Paramount.” Here is our factory-tested procedure, step by step.
Before You Start: Is It Really the Tube?
Dirty or misaligned optics — not the tube — are the #1 cause of low power. Rule those out first, plus coolant flow and PSU/current settings. Genuine tube symptoms: power stays low after cleaning, output fluctuates, visible cracks or arcing, or the tube no longer fires.
Safety First
- Power down and lock out AC mains; CO2 tubes run at 20 kV+.
- Discharge the HV circuit and verify with a multimeter before touching the lead.
- Never fire without coolant — dry-firing can destroy a tube instantly.
- Wear laser safety eyewear (10.6 μm) and insulated gloves; handle the glass with care.
Step 1: Remove the Old Tube
- Power down, discharge, and drain coolant lines.
- Label the HV (anode) and LV (return) wires before disconnecting.
- Mark clamp positions and beam height — this saves hours of re-alignment.
- Loosen clamps, lift the tube evenly, and crate it (you may need it for RMA).
Step 2: Install the New Tube
- Mount the tube in the marked positions — firm, but no mechanical stress (a leading cause of early failure).
- Connect coolant with distilled/deionized water; check for leaks before firing.
- Connect HV → anode, LV → cathode; keep the LV return isolated from ground.
- Confirm interlocks (water flow, door) are closed.
Step 3: Align the Beam
- Fire at low current first and allow warm-up.
- Tape-burn test: fire at thermal tape — a healthy TEM00 beam leaves a round, even spot; a crescent or streak means misalignment.
- Re-center the beam at each mirror (1 → 2 → 3) toward the worktable.
Step 4: Calibrate Power
- Set max operating current exactly per the datasheet — never exceed it.
- Verify with a laser power meter; confirm CW mode, not pulse.
- Watch stability for 5–10 min; ±5–8% fluctuation is normal, larger swings point to coolant or PSU, not the tube.
- Run a test cut/engrave at your real production settings.
Post-Installation Checklist
☐ No leaks, correct flow, chiller setpoint right
☐ Polarity correct, connections secure
☐ Beam centered at every mirror
☐ Current within datasheet limits
☐ Power verified and stable
Need to restore your machine’s peak performance? Explore our CO2 laser tube series or send us your current tube’s specs — we’ll match the right replacement.